PARKSIDE - You Got This! Ideas and tools, it's all in your hands!

You can do this!

For DIY professionals
 High-quality, hard-wearing materials
 Unbeatable value for money
 Easy to use and high safety standards
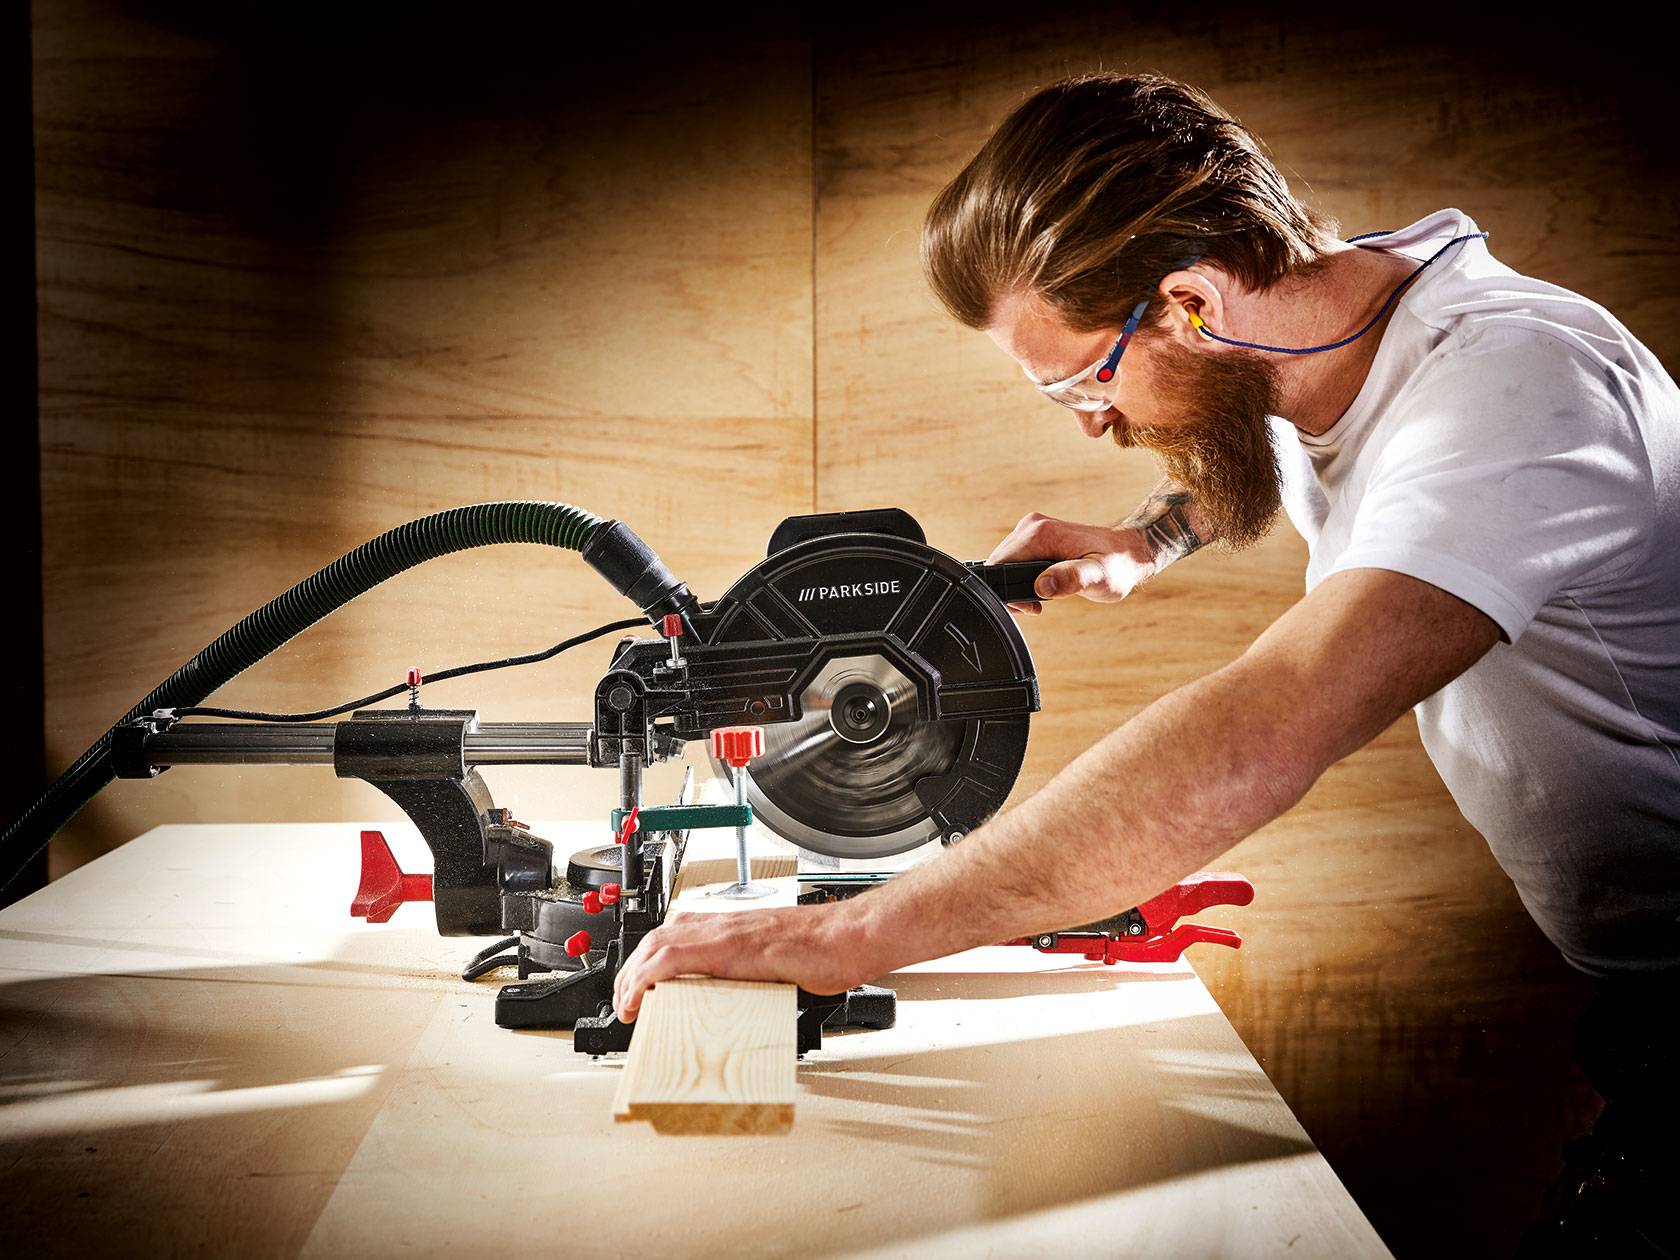
Parkside does every job
The right tool for every occasion: with PARKSIDE devices, your workshop is equipped for every project.
Because our range includes all types of power tools and, of course, a wide range of accessories.
PARKSIDE not only offers a variety of devices, but is also a reliable helper for your next DIY project through strict safety and quality controls. The tools are so popular because of their excellent price-quality ratio and high performance level in the DIY sector.
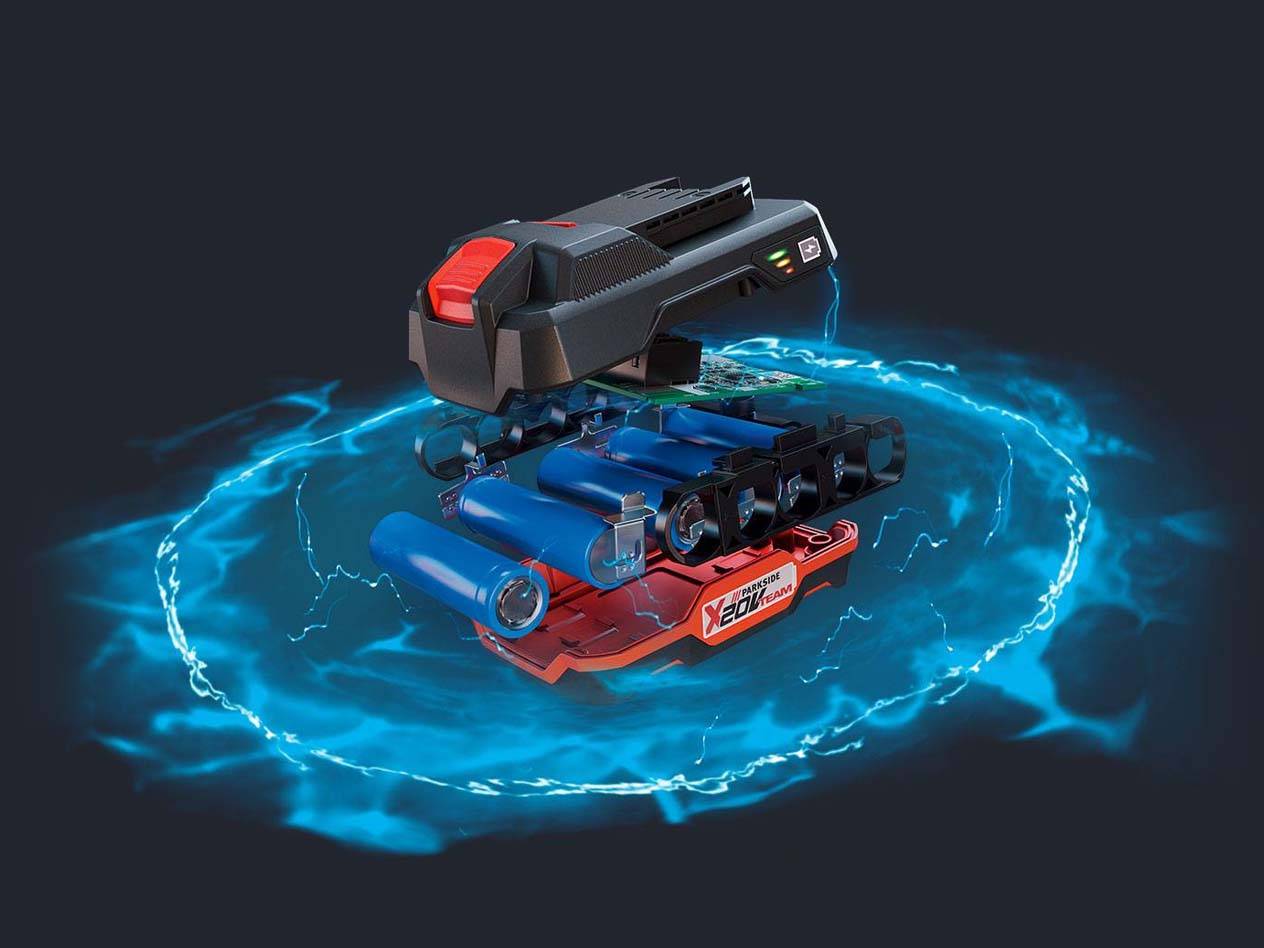
Always at maximum power
With the PARKSIDE battery family, even the most difficult daily tasks can be handled easily. Batteries for all tools, from drilling to cutting. Just charge up and off you go. Great performance combined with cordless freedom for your next project.
Parkside X 12V Team
If you need to move around the house smoothly and large tools are out of place, you are in the right place with our high-performance electric tools from the PARKSIDE X 12V Team series. A picture can be hung up quickly with the cordless drill, no edge of the room is too narrow for the angle grinder and if you run out of charge, the charger is right there.
To complete the basic equipment of your workshop and for more demanding jobs, you will find the perfect support in the PARKSIDE X 20V Team series. The large selection of precise and flexible electrical tools such as the cordless impact wrench or paint spray gun will not leave you dissatisfied.

Don't miss our upcoming offers!
You certainly don't want to miss the offers of the week and are you also looking for exclusive information about our products? Reduce waiting times by subscribing to our newsletter, full of current offers, promotions, new products and much more.