Fancy something tasty from the oven? Practical tips for preserving
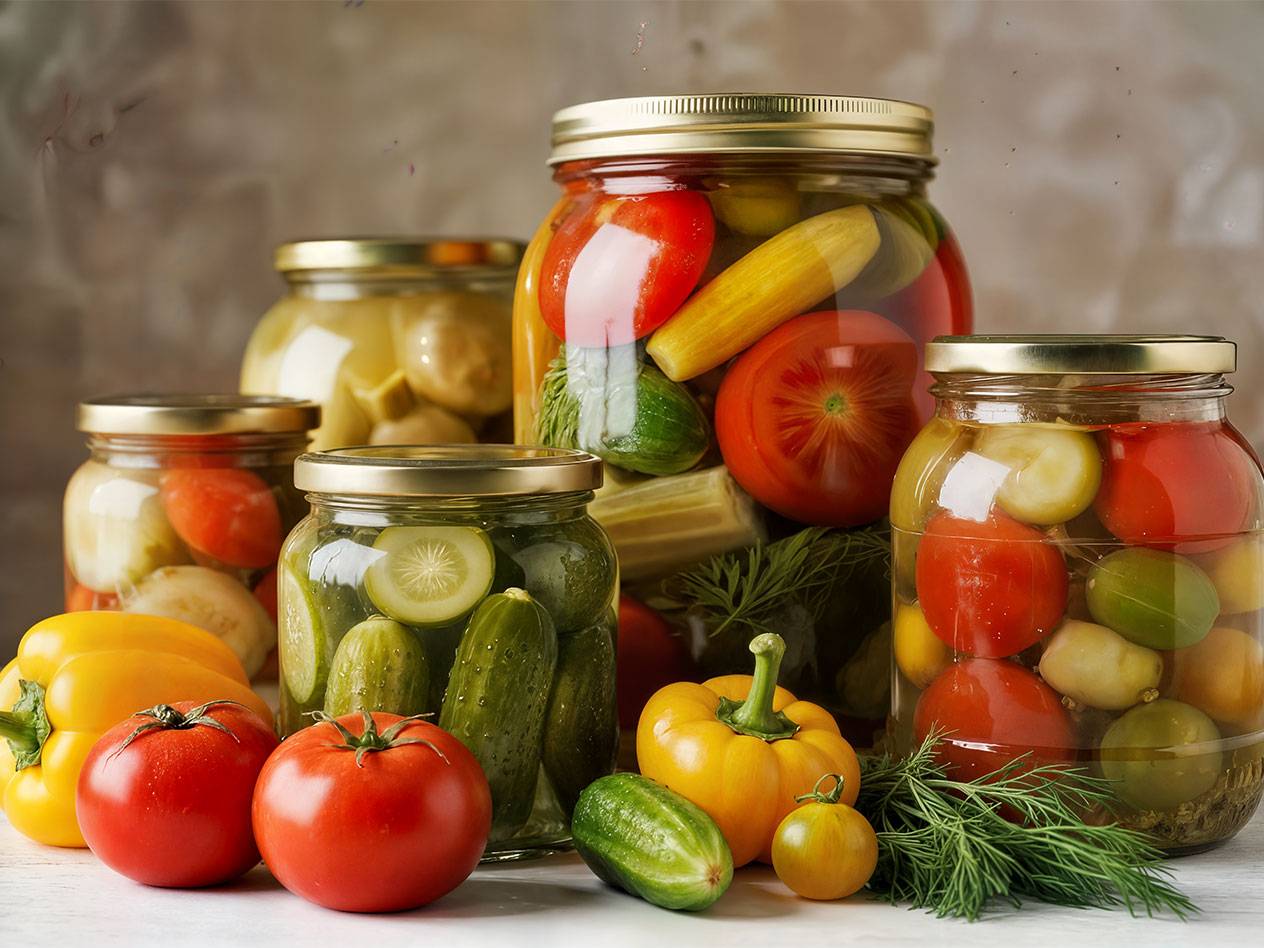
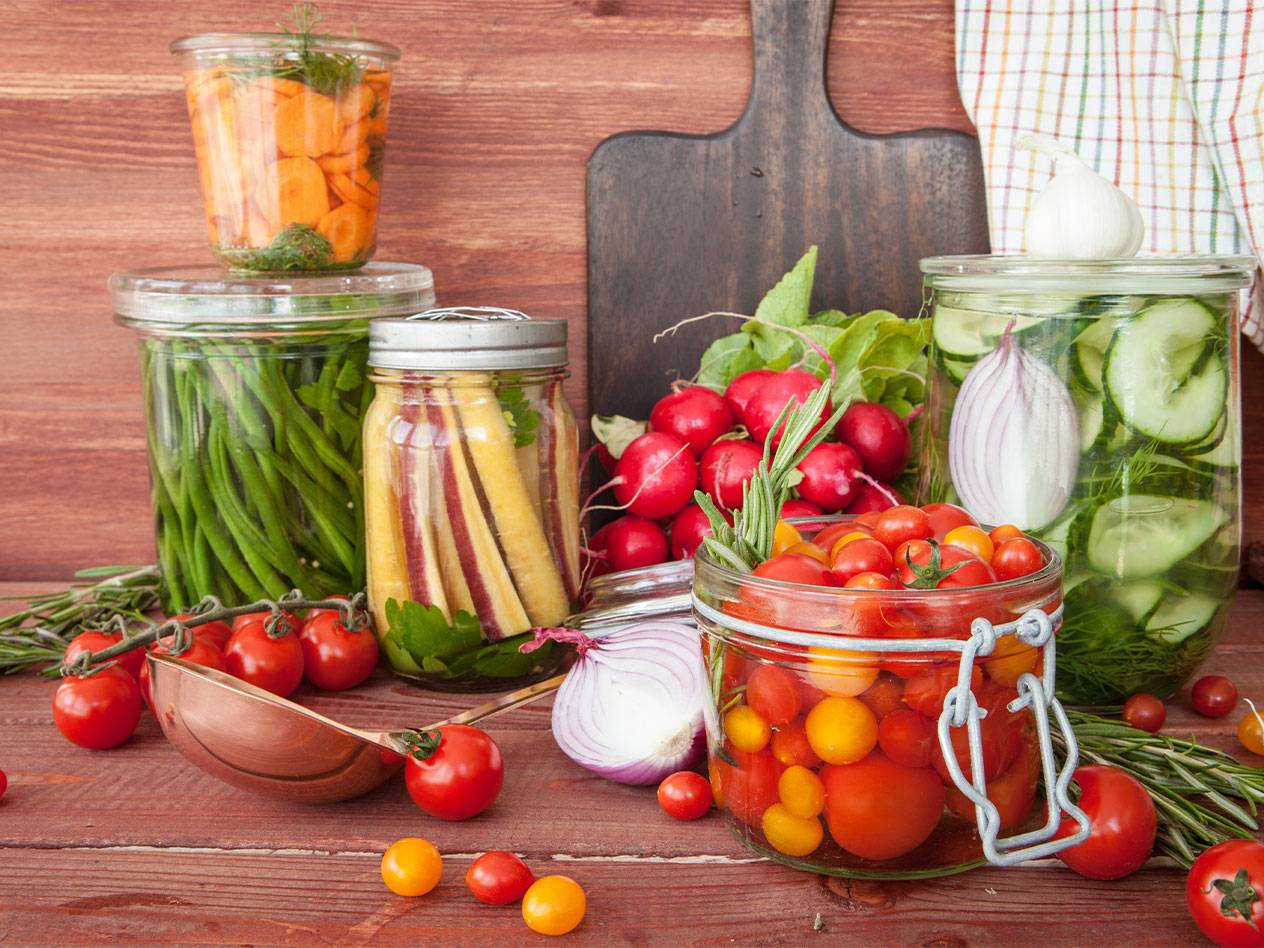
Canning or preserving is a traditional method of preserving food for longer. Whether it's the unexpectedly large harvest from your own garden or the supermarket offer that simply had to be snapped up: Preserved foods are great stockpiles, have a shelf life of several months and prevent products from being thrown away. Preserving in the oven is particularly practical.
Contents
- Reasons for preserving in the oven
- How preserving works
- Instructions: Preserving in the oven
- What can I preserve in the oven?
Reasons for preserving in the oven
Canning in the oven may sound unusual at first, but it has a big advantage over other preserving methods. More jars can be accommodated on the baking tray than in an ordinary pot - so more goods can be canned at once. This is particularly important when there are many different or large quantities of preserves.
How preserving works
The principle of preserving utilises the physical phenomena of overpressure and vacuum. When the preserves are heated in the tightly sealed jars, an overpressure is initially created as warm air and water vapour expand in the jar. As soon as the jars cool down, the air and vapour contract again. A vacuum is created, which virtually "sucks in" the lid and thus seals the jar airtight. Sterilising the jars beforehand ensures that they are sterile - the preserved food can then be kept almost indefinitely.
Instructions: Preserving in the oven
Before you start preserving, you should have all the necessary utensils ready so that the preserving process can run smoothly and without stress.
Shopping and materials list
- Pickling jars with lids
- Dishcloth
- Filling funnel
- Baking tray or frying pan
- Pickling ingredients
- Possible sugar
- Liquid (water, vinegar, stock, juice or wine)
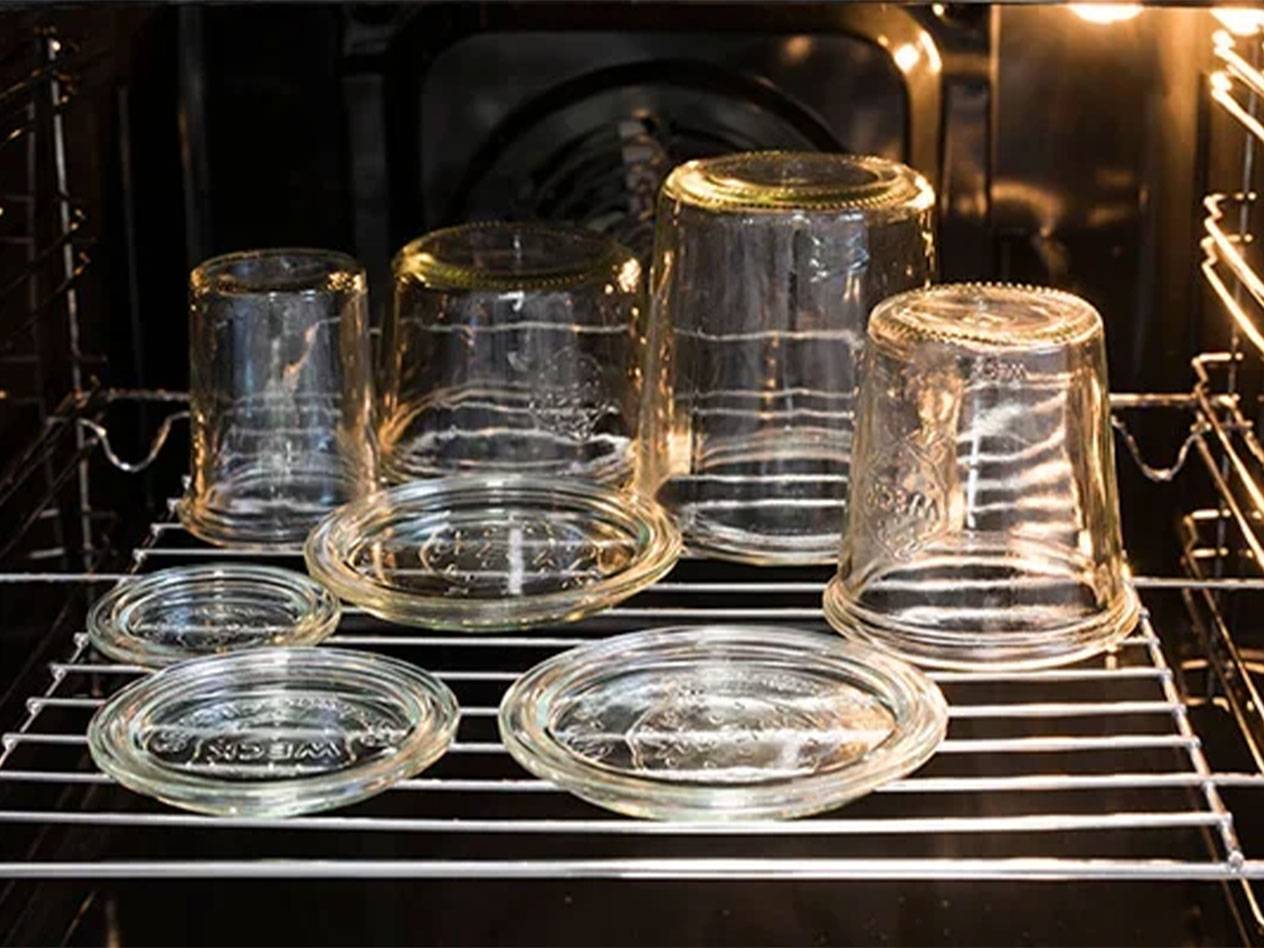
Step 1: Sterilise the jars
The first step is to sterilise the preserving jars. To do this, you can boil the jars briefly in hot water or rinse them with boiling water. Then dry the jars thoroughly. Alternatively, you can also heat the screw-top jars in the oven at 180 °C for 10 minutes. Boil the lids and rubber rings in vinegar water for 5 minutes and lay them out to dry.
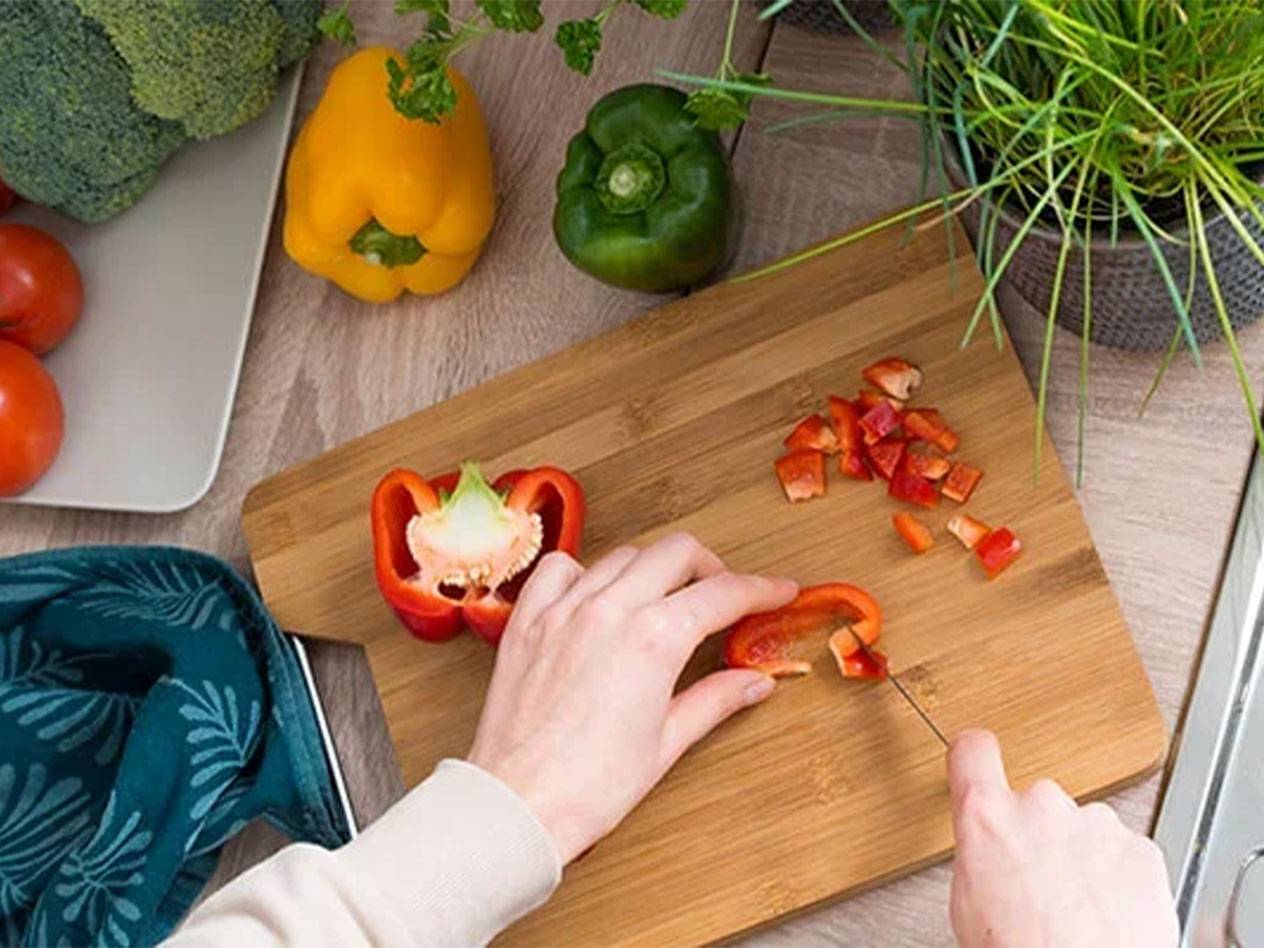
Step 2: Prepare the preserves
While the jars are boiling or in the oven and cooling, you can prepare the preserves. Depending on the type of preserves you choose, you will need to wash, core or pit and cut the fruit and vegetables. Small pieces are better than large chunks: the closer together the pieces are in the jar, the easier they will be to preserve.
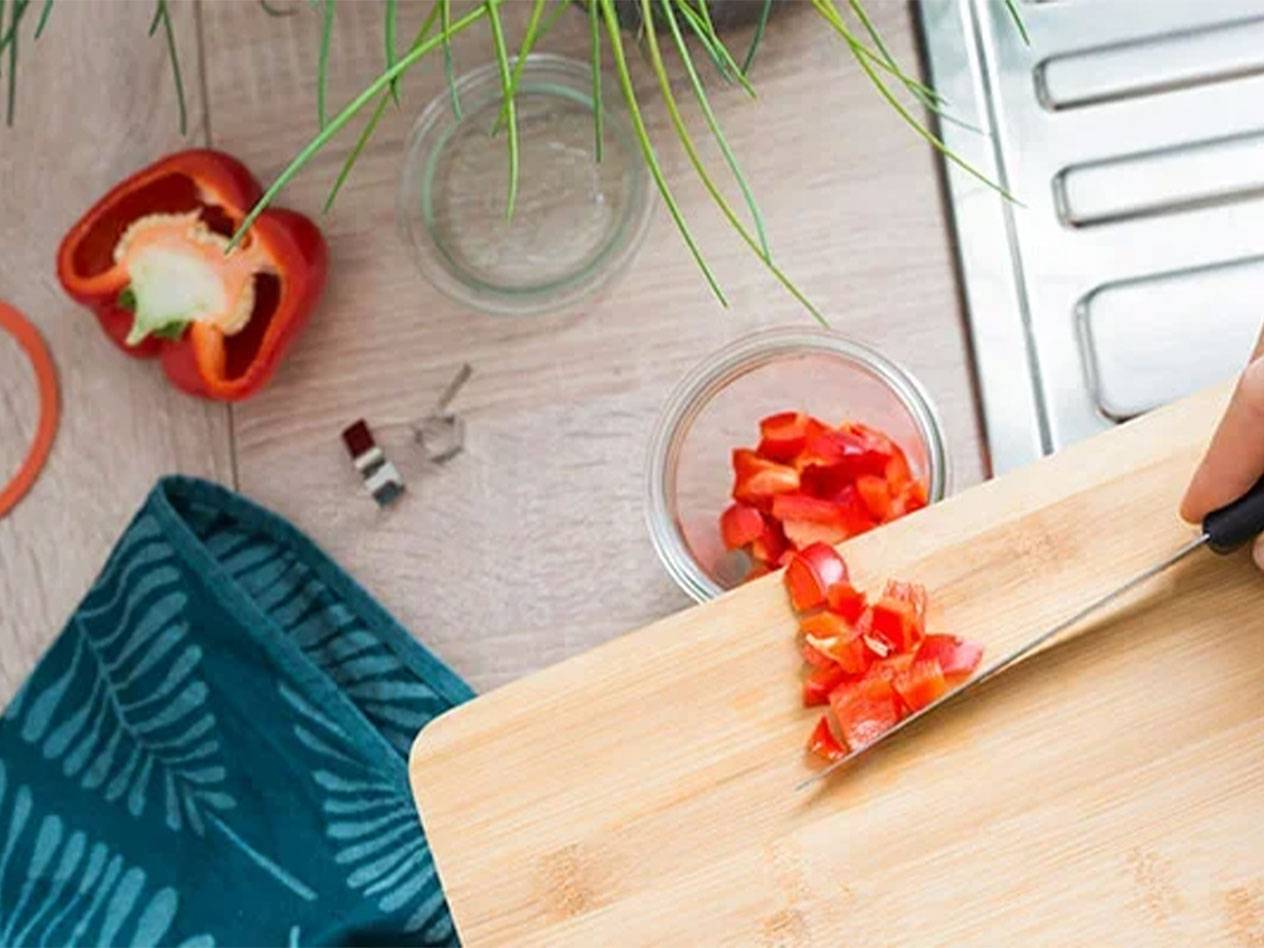
Step 3: Filling the jars
Once the jars have cooled and dried and the liner has been prepared, the jars can be filled. The rims must remain clean. A funnel can help here. The liner is then poured with the appropriate liquid. After filling, there should be about 2 cm of air left up to the rim. Put the lid on as quickly as possible and twist or clip it tight.
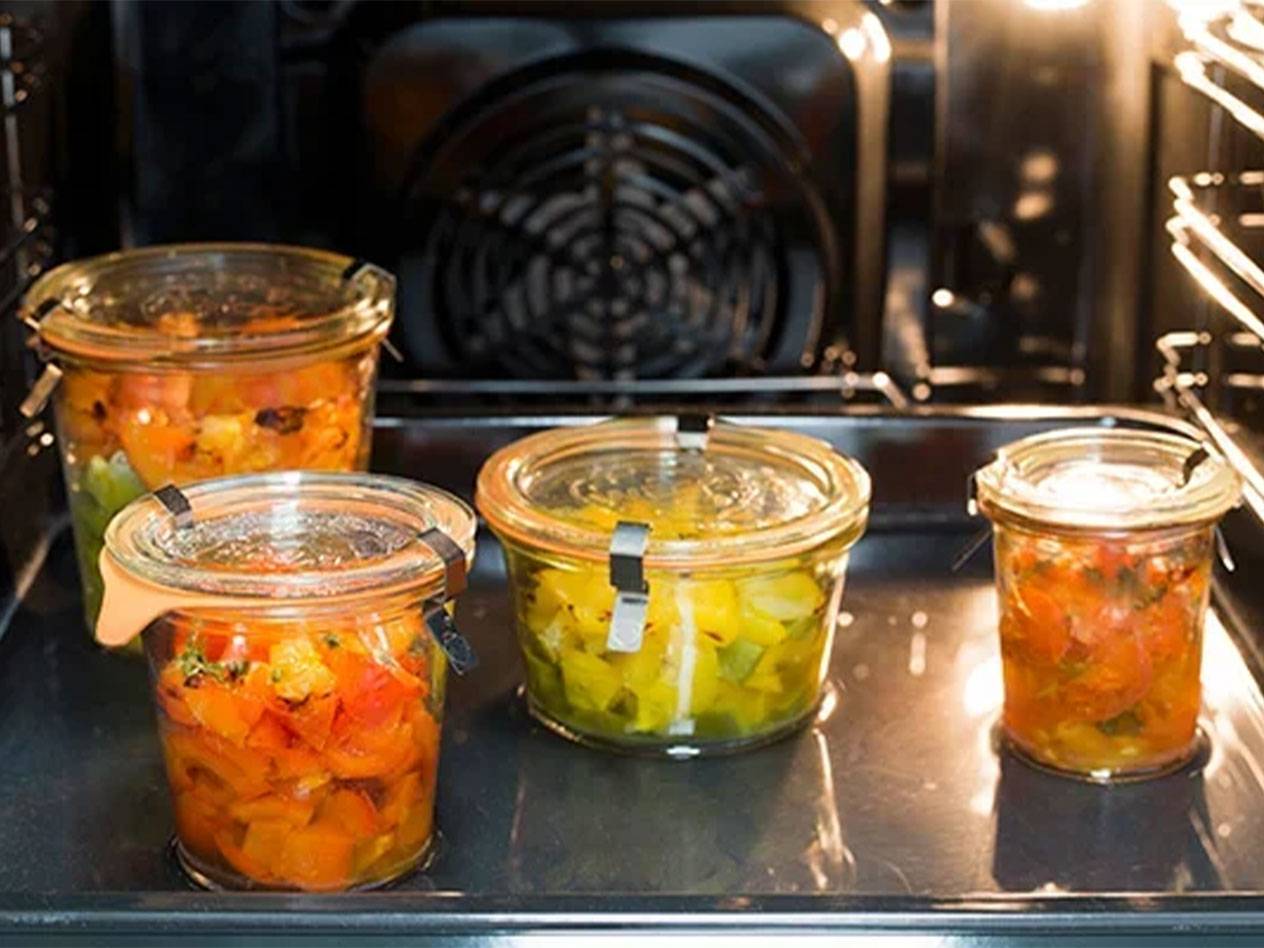
Step 4: Place the jars in the oven
Now the actual boiling down begins. Place the sealed jars in the fat pans and fill them 2 to 3 cm high with cold water. Place the tray with the jars in the oven and set the temperature. You can never go wrong with 175 °C top and bottom heat. As soon as the water bath starts to boil, switch the oven off again and leave the jars for another 30 minutes.
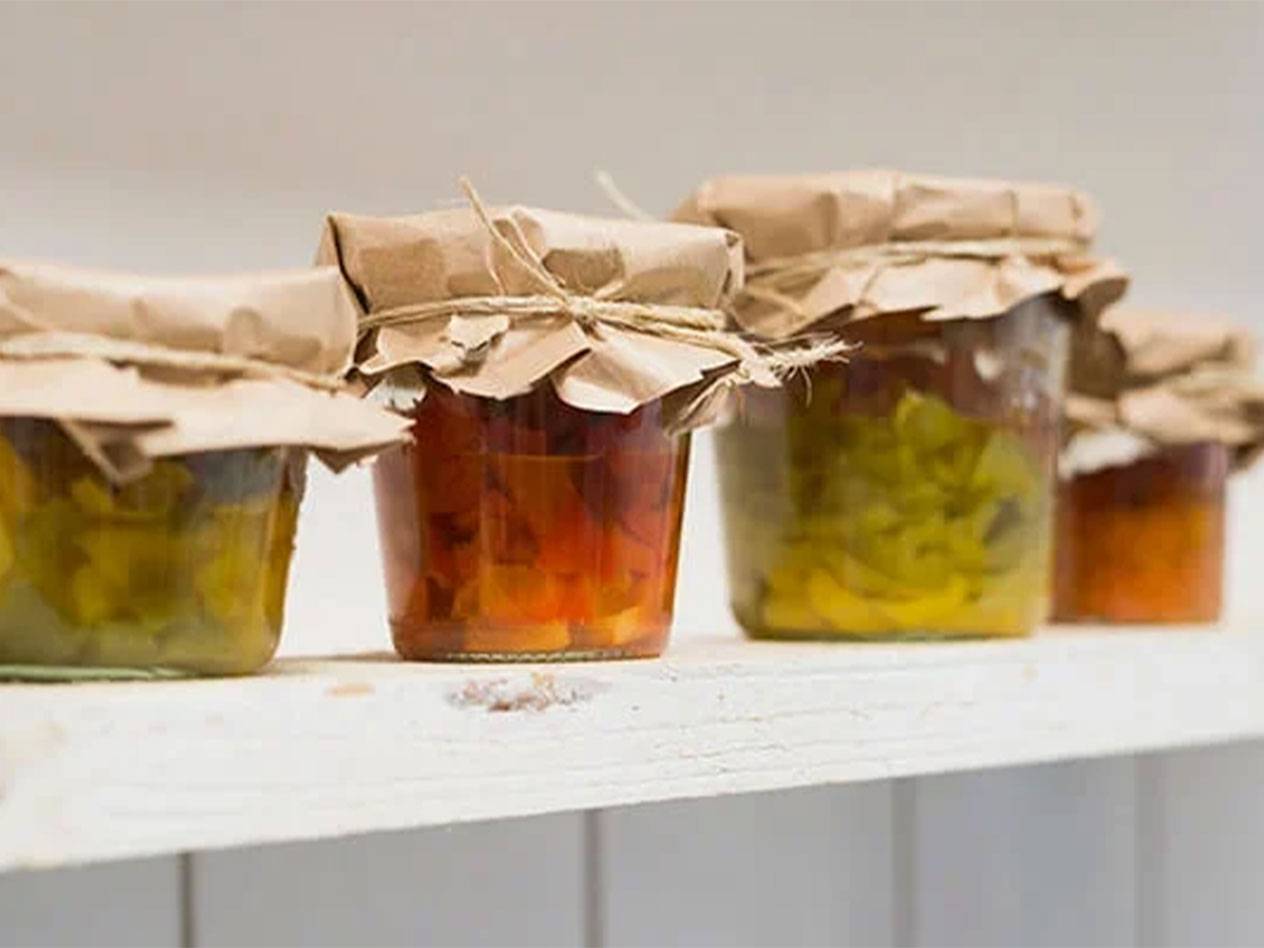
Step 5: Cooling and storing
Take the jars out of the oven and leave them to cool. Check that the jars are really tight: Loosen the clips on jars with hinged lids and lift them by the lid. The lid should remain firmly in place if the preserving is successful. For preserving jars with metal screw lids, you can recognise the vacuum by the fact that the lid is slightly pulled inwards. If everything is tight, you can label the jars and store them in a cool place out of direct sunlight.
What can I preserve in the oven?
There are no limits to your creativity when preserving in the oven. In theory, you can preserve anything that tastes good and needs to be preserved for a long time. However, some types of fruit and vegetables are particularly popular.
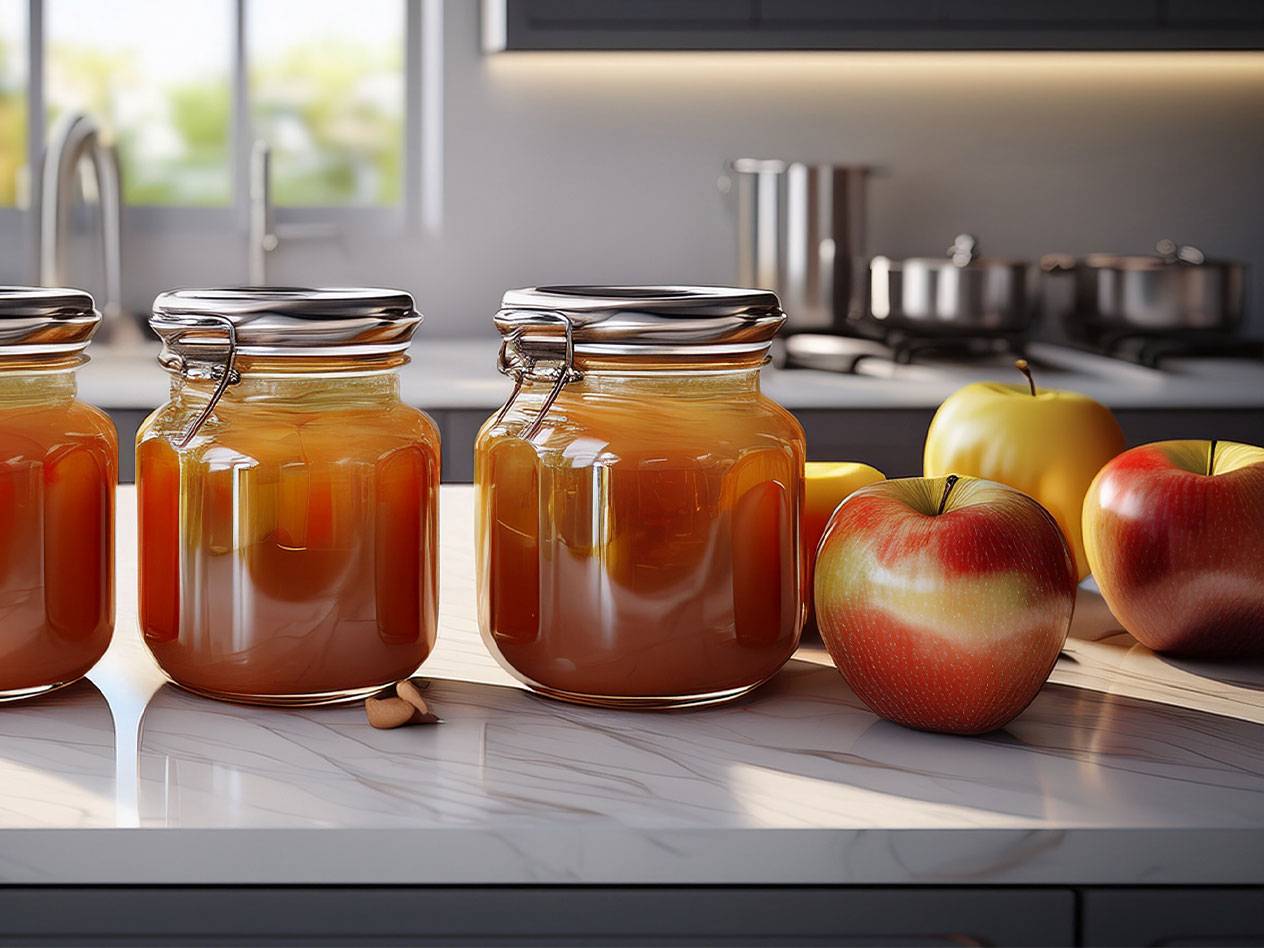
Fruit
There are various options for preserving fruit. You can either preserve whole fruit or pieces of fruit, which can then be turned into compote or puree. The fruit should always be ripe and free of "mushy" spots to achieve a good result. Sugar water, wine or fruit juice are used as the liquid. Depending on the flavour, lemon juice or spices such as cinnamon can also be used.
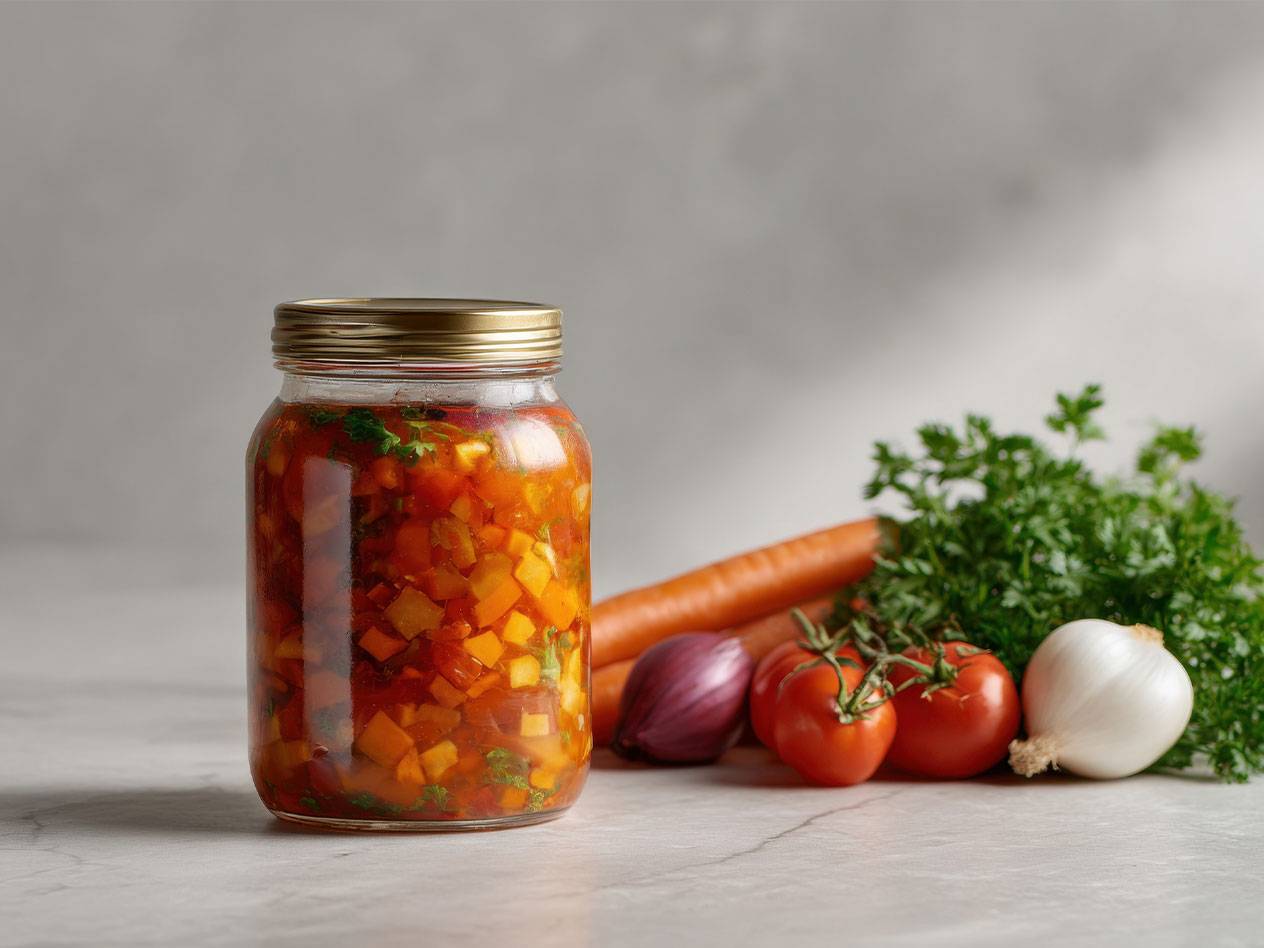
Vegetables
Any vegetables can also be preserved well. If you like, you can blanch the vegetables beforehand, but in general any type of vegetable can also be preserved raw. Stock, pure water and a dash of vinegar and spices are used to fill vegetables.
Particularly suitable for preserving include
Fruit | Vegetables | Other |
|---|---|---|
Apples, Pears, Strawberries, Cherries, Peaches, Plums | Beans, Cucumbers, Cabbage, Pumpkin, Carrots, Tomatoes, Zucchini | Broth, Meat, Cake, Jam/Marmalade, Juices, Lard, Sauces, Sausage |
Alternatives to preserving in the oven
There are numerous alternatives to preserving in the oven. Traditionally, preserving is often done in a pot on the hob. Preserving jars can also be heated quickly and easily in a steamer or pressure cooker. If you have less patience, you can use twist-off jars: Here, the preserves are not filled cold, but hot, the jars are sealed and turned upside down for a few minutes. The jars are then turned upside down again and allowed to cool. For true preserving fans, a special preserving machine may also be an option.